When it comes to comfort and energy efficiency, there is nothing like insulation. Especially if you choose spray foam insulation. But the cost of installation can be a bit higher than other options and some might consider insulating their properties themselves. While the process is simple with prep work, safety gear and application and savings when it comes to limited spaces; it has high potential for respiratory issues and improper installation and we strongly advise against installing it yourself. If you’re doing your research on DIY spray foam insulation, this blog goes over its installation technique, benefits and risks.
Spray Foam Installation Like A Pro: A Step By Step Guide
Are you a DIY enthusiast who’s noticed a drafty room or cold attic? As previously mentioned, it is much better to have expert spray foam contractors insulate your space. The process is deceptively simple, but if you insist on taking on the project yourself, it takes patience, stamina and the proper technique to do it well.
Here is a look at all the things you should do for a successful insulation project.
Step 1: Prepare The area
The first thing you should do is to get the area ready for the installation. Cover all the windows, vents and outlets from the spray foam. Also use newspapers and drop cloths on floors to keep them safe from spills.
Step 2: Safety Gear
Spray foam is toxic, leading to chemical burns and permanent respiratory problems. So, it’s vital to wear safety equipment like gloves, vapor masks and safety goggles when installing it yourself. For foolproof protection, opt for a Tyvek suit.
Step 3: Verify Temperature
Depending on the type of spray foam you selected, you may have to warm it up to a certain temperature for efficient use. Check and follow the instructions on your kit.
Step 4: Practice First
It’s always a smart idea to practice on a piece of newspaper or in a trash can to get a feel for the pressure and expansion rate. This will give you more control when performing the actual insulation.
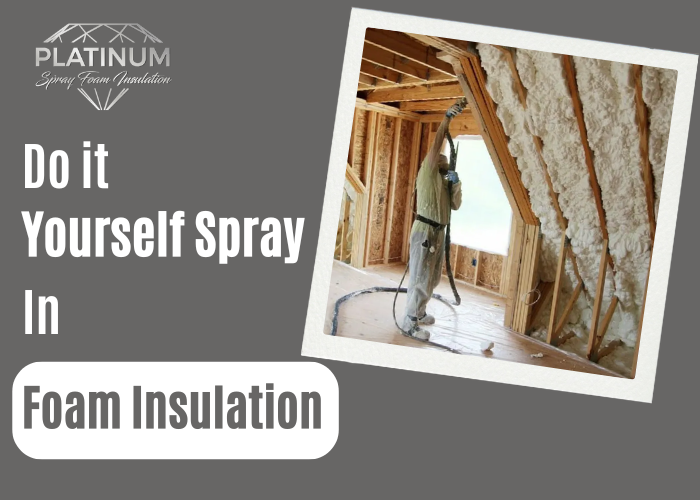
Step 5: Spray Evenly
Now you’re ready to begin. Spray the foam in thin, even coats to cover the area you need. Make sure not to overdo it, as spray foam can expand up to 100 times as it starts to cure.
| Caution
Work quickly as stopping for over 30 seconds can clog the nozzle and require replacements |
Step 6: Mist The Area
Having someone helping you during this process is a great idea. Have them lightly spray the area with water to help expedite the curing and expansion process of the spray foam.
Step 7: Let It Cure
After the first coat has been sprayed, don’t go in for a second one just yet. wait about 30 minutes for the foam to cure. Check your particular DIY spray foam kit to find the right curing time for your own product.
Step 8: Trim Any Excess
It’s important to lay the foam flat in the wall cavity, so carefully trim away any excess material that goes past the studs. Use something like a utility knife or handsaw for this step.
Step 9: Final Clean Up
All done with the installation! Now all you have to do is to clean away any errand drips from surrounding surfaces. Remove the newspapers and sheets and take a breather after all that hard work.
The Pros & Cons Of DIY Spray Foam Insulation: A Deeper Dive
Okay, now that you understand how to install the insulation on your own, the real question is: Should you? While it can save a few precious bucks, there is a lot that can go wrong like potential fires. To help you make a smart decision, take a look below.
Here are all the pros and cons of DIY spray foam insulation.
Benefits
- Huge cost savings on smaller jobs
- Flexible work schedule
Risks
- skin irritation
- respiratory issues
- fire hazards
- costly reapplications due to improper installation
- stuffy interiors if not done correctly
Conclusion
To conclude, when you notice drafts due to improper insulation in certain areas, you may consider a DIY spray foam insulation. The process is fairly simple, with surface protection, practice runs, installation and cure times. However, it is important to remember that doing it incorrectly can lead to respiratory conditions, drafty interiors and the potential for fires and costly reinstallations if done incorrectly. We hope this blog satisfied your curiosity about DIY spray foam insulation. For more information or instructions, please drop us a line.
FAQs
What types of spray foam insulation are out there?
The two types of spray foam insulation are open cell and closed cell insulation.
What is the off-gassing period of spray foam insulation?
Spray foam insulation has an off-gassing period of 24 hours.
What is the lifespan of spray foam insulation?
With correct installation and maintenance, it can last the lifetime of the building.